

You should remove PPAs from Ubuntu (as well as Ubuntu-based distributions like Linux Mint)
You can remove PPAs using a graphical interface (GUI), or you can do it from the command-line (CLI).
Both methods do the same thing: remove a PPA from your system.
The one you choose is up to you — but first, why?
Removing PPAs from Ubuntu is Important
Many of us add PPAs to Ubuntu (or more accurately add PPAs to our list of software sources) to access new or updated apps, tools, and other software; test development or unstable packages; upgrade to a newer kernel version, and so on.
You should remove PPAs you don’t use to reduce potential security risks
They’re useful, but they have drawbacks compared to sandboxed app formats like Snap and Flatpak.
Every PPA you add gives its owner root access to your system. No-one has, to date, misused this trust, but someone could create a PPA with safe software and, down the line, replace it with a malicious version that gets installed alongside system updates.
Another problem is that PPA maintainers can add new packages to a PPA at any time You might add a PPA that has one app. But if the owner adds more packages down the line, you wouldn’t know.
Worse, if those new packages match ones on your system—bam; upgraded.
Finally, if you add too many PPAs it can make update checks slower.
If you longer use or need a PPA you should prune them.
How to remove a PPA from the command line
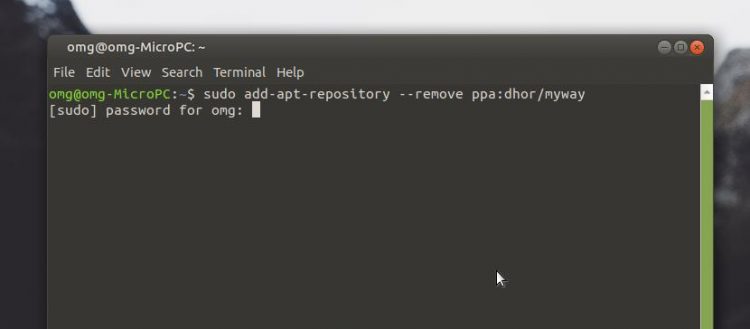
When you add a PPA on Ubuntu using the command line you run the command: sudo add-apt-repository ppa:name .
Well, you can run the same command to remove a PPA as well, just by adding the --remove flag:
sudo add-apt-repository --remove ppa:name/here
You need to replace ppa:name in the example above with the correct PPA syntax you wish to remove — if you can’t remember the PPA name, keep reading…
This command removes a PPA, but it leaves the packages you installed from it behind. This can become an issue down the line if the PPA version is higher than a repo version. This often creates unresolvable package conflicts during Ubuntu release upgrades.
Rather than manually hunt down and downgrade packages by hand, use PPA Purge.
PPA Purge removes a PPA and all packages installed from it (downgrading where possible):

PPA Purge is a command-line only tool. To install it, run this command:
sudo apt install ppa-purge
Then run:
sudo ppa-purge ppa:name/here
Don’t know the name of the PPA you want to remove? Look in the Software & Updates app (see below).
Remove a PPA (GUI Method)

The CLI methods listed above require you to know a PPA name in order to remove it. And you might not; you may added the PPA ages ago. A memory-free alternative to remove PPAs from the Software & Updates tool instead.
Adding a PPA using this app is a chore, but removing one is much simpler:
- Open the Software & Updates tool
- Click “Other Software” tab
- Select the PPA you want to delete
- Click “Remove” to remove it
On removal you’ll be asked to confirm your password (enter it) and a prompt will appear to tell you to refresh your system’s package list.
If you’re on Kubuntu or KDE neon you can head to Muon Discover > Sources > Configure Software Sources to access a list of PPAs and manage (i.e. delete, remove, update, edit) them there.
Do note that each PPA you add appends two lines to your sources.list.d file: one for installer packages, and one for source code. You should remove both entries to entirely remove a PPA.
Finally, removing a PPA using a GUI will also not uninstall/downgrade packages installed from it, which makes the command-line PPA Purge tool the most effective choice overall.
Success?
There are plenty of reasons why you may want to remove a PPA from Ubuntu, and several why you should.
Perhaps an archive longer support your Ubuntu version, is causing errors and warnings to appear when you update apps, the GPG key has expired or the owner has added newer/unstable versions of apps you don’t wish to use.
Using the steps in this guide, you can improve your system’s security and stability.