Even though Ubuntu includes support for gaming controllers by default, it is somewhat lacking.
The default xpad driver has been a source of trouble for a long time. And while it works well for some – you don’t need to pay attention to this post if that includes you – there are those for whom it doesn’t.
So, for those, here is another method.
XBoxDriver
xboxdrv is a “Xbox/Xbox360 gamepad driver for Linux that works in userspace”, a more reliable bridge between the OS and the gamepad.
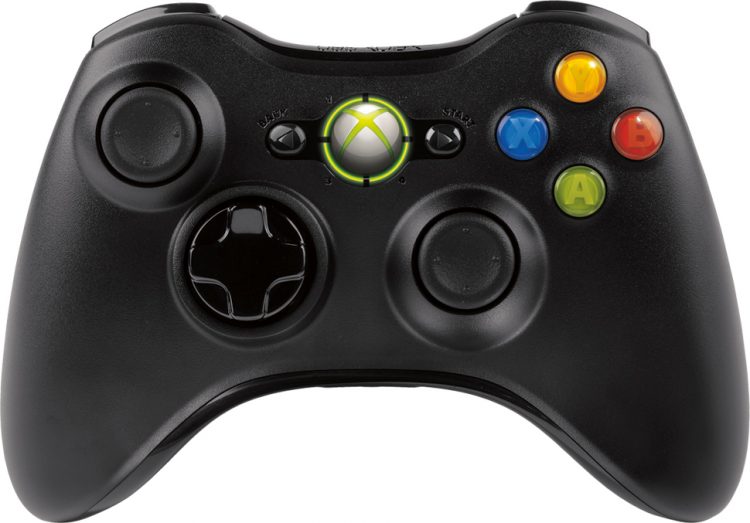
It fully supports most Xbox controllers, more specifically “Xbox1 gamepads, Xbox360 USB gamepads and Xbox360 wireless gamepads, both first and third-party”, like the Logitech F710 which I’m going to be using in this tutorial.
1. Since support for my Logitech controller was only added in xboxdrv 0.8.5, not the 0.8.4 available by default in Ubuntu 13.04, I installed xboxdrv from its PPA.
sudo add-apt-repository ppa:grumbel/ppa
sudo apt-get update && sudo apt-get install xboxdrv
You can read more about compatibility at the xboxdrv website, and if you’re having problems with the driver included in Ubuntu by default, then you can always try upgrading to this version.
2. Next, you need to disable the xpad driver. There are two ways to do this.
To permanently disable the driver from being loaded open a terminal and enter the following command:
gksu gedit /etc/modprobe/blacklist.conf
Add the following line to the end of the file to permanently disable the driver from being loaded:
blacklist xpad
Or, for a less permanent way, you can issue the following command in terminal, so you can disable it immediately and avoid rebooting after modifying blacklist.conf.
sudo rmmod xpad
3. Finally, connect your gamepad and run the new driver from the command line.
sudo xboxdrv --silent
The – -silent option prevents the driver from outputting an extreme amount of information about of information about your gamepad.
That is pretty much it, and the new driver will work with games which support gamepads, like SuperTuxKart and Steam games like Portal.
However, for games which don’t support controller input, you can still use xboxdrv with the – -config option to map the keys and analog sticks on your gamepad to your mouse and keyboard, like so:
sudo xboxdrv --silent --config [file]
While writing these files is beyond the scope of this tutorial, you can find more information here and you can also find many of these scripts around the web. For instance, here’s one I prepared earlier for Minecraft.
QJoyPad – Graphical Axis Editor
If you don’t fancy the idea of writing your own scripts you can use QJoyPad, a graphical option for doing this.
QJoyPad is a bit of a pain to get running under Ubuntu. A bit of Googling should help, as might these out-dated .deb installers.
Once installed the tool can be launched from the command line using:
qjoypad --notray
It will show up as a small window with an old-looking gamepad inside it. You can then use it to bind individual bits of your controller to their corresponding actions on the keyboard or mouse. Here are the basics:

Left click the game pad to enter the layout editor. To open a new layout, press ‘Add‘, and then name it. You can then use the jstest-gtk tool to find which axis or button you need to assign to whatever key you want.
For example, say I want to assign the left joystick to the AWSD keys for movement. To do this, I would open the jstest-gtk application from the Unity Dash, double-click my controller and move the left joystick about to see which axis it corresponds to. When I move the joystick sideways, axis 0 moves. When I move it up and down, axis 1 moves.
Since the axis in QJoyPad are always one greater than in jstest-gtk, axis 0 corresponds to axis 1, and axis one corresponds to axis 2. So to set up sideways movement I press axis 1, and then change the left button (these buttons can be found under the white bars) to A, and the right one to D. Likewise with the up and down buttons for axis 2.
Enabling the gradient option ensures that the movements are gradual, so in some games you can move slowly if you move the joystick just a little. Feel free to mess about with some of the settings to find the optimal options for how you want your controller to work.
Similarly, you can make joystick movements correspond to mouse movements, also using the gradient option. Just select one of the four Mouse options rather than the Keyboard option, depending on which direction you want to move the mouse.
Setting up ordinary keys is somewhat simpler. Just press Quick Set at the bottom of the QJoyPad window. When a pop-up appears, press the desired key on your controller, and then the right keyboard key.
You can save the layout using the Update button, or undo the changes to the last saved version using Revert. The Remove option is self explainable. Back in the little joystick window of QJoyPad, you can right-click it to quickly change layouts.
When you’re done with xboxdrv, you can exit it using the Ctrl-C key combination, or just close the terminal.