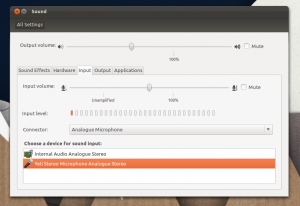
If I want to use my Blue Yeti microphone in Ubuntu I have to manually select it in the Sound section of the Ubuntu System Settings app.
Not exactly difficult to do, but a bit annoying.
And because the Settings app isn’t running on my desktop all the time I always forget to switch back to my internal audio devices after I’m done using my microphone as an input and output (it has a 3.5mm headphone jack).
So I was stoked to come across an indicator applet called Sound Switcher which makes switching audio device in Ubuntu a whole lot easier.
Sound Switcher nixes the need to use System Settings at all. With just a couple clicks I can change audio input and output devices straight from the top panel:
 I find this especially handy for switching audio output to Bluetooth speakers or, if connected to a TV through HDMI, handing sound output to it.
Does this looks (or should I say sounds) like something you want to use?
Installing Sound Switcher Indicator in Ubuntu
To install the sound switcher indicator you need to add the Sound Switcher PPA to your list of Software Sources. The PPA is maintained by this tool’s developer, Dmitry Kann.
The PPA provides the latest release for Ubuntu 12.10 and above.
Open a new Terminal window and enter the following commands:
sudo apt-add-repository ppa:yktooo/ppa
sudo apt-get update && sudo apt-get install indicator-sound-switcher
After install has completed open the Unity Dash, search for ‘sound switcher’ and launch. It’s worth knowing that the app sets itself to auto-start on login, so if you don’t want it to start-up automatically you’ll need to disable it from the Startup Applications tool.
If you don’t fancy adding the PPA you can grab the .deb installer from the package archive details page.
