


You can create a bootable Windows USB on Ubuntu or Linux Mint using a free application called ‘WoeUSB’.
Unlike other methods I’ve tried to make a working Windows 10 and 11 USB installer on Ubuntu, this one works. Sure, it’s easier to do it from Windows, but I want to do it from my main desktop OS, and that’s Ubuntu.
Before anyone panics: I don’t plan to use Windows as my main OS, but from time-to-time I need to test something for this blog, like the Windows Subsystem for Linux, or how dual-boots work with Ubuntu’s Full Disk Encryption).
I’ve lost so many hours following guides telling me how to write Windows to a USB on Linux distributions like Ubuntu, only for that Windows USB to fail to boot.
To save you the hassle, the method I cover in this guide is the one I use.
How to Create Bootable Windows USB on Ubuntu
WoeUSB is the name of my go-to tool for making a bootable Windows 10 or Windows 11 USB stick on Ubuntu.
It is free, open-source software that is available as as a graphical (GUI) app, and a command-line (CLI) tool that runs in any terminal emulator.
For this guide, I use the WoeUSB GUI app.
While I focus on Windows 10/11 here, WoeUSB can make a bootable USB installer for most Windows releases, including Windows Vista, Windows 7 and Window 8.1.
All languages and all variants of Windows, including Pro, Home, N, 32-bit, etc., are supported. Plus, the tool works with both ‘legacy’ and ‘UEFI’ boot-modes, and FAT and NTFS.
For advanced or bespoke installations, the WoeUSB command-line version provides an array of flags, arguments and controls are provided, allowing you to create custom install images. I don’t cover that tool in this article. If it appeals, check out the GitHub wiki.
For most of us, the standard desktop WoeUSB app is all that’s needed.
To create a bootable Windows USB on Ubuntu you need to:
- Install WoeUSB
- Have a valid Windows ISO file
- Use a USB flash drive:
- 4 GB minimum for Windows 10
- 8 GB minimum Windows 11
Don’t have an ISO? Microsoft’s website lets you download Windows 10 disc images, and there are links to Windows 11 builds too.
You don’t need a license to create a Windows USB installer, download an image file or install the OS. You will need a Windows license key to activate Windows; WoeUSB doesn’t circumvent that.
1. Install WoeUSB on Ubuntu
Before we begin, a note to say that WoeUSB is open-source software, a fork of an earlier project called WinUSB. The lamp recent versions of WoeUSB have dropped the graphical (GUI). The version I use in this guide is older, but, importantly, still works.
A personal package archive (PPA) lets you install WoebUSB on Ubuntu 20.04, 22.04, or 24.04 LTS – and only those versions (or any Linux distributions based on those versions, such as Linux Mint 21.x and 22.x series).
If you use Ubuntu 26.04 LTA you cannot use the PPA yet.
Open your Terminal and add WoeUSB PPA:
sudo add-apt-repository ppa:tomtomtom/woeusb
Refresh the list of packages, and install WoeUSB:
sudo apt update && sudo apt install woeusb-frontend-wxgtk
Allow everything to download, unpack and complete, then continue.
2. Open WoeUSB
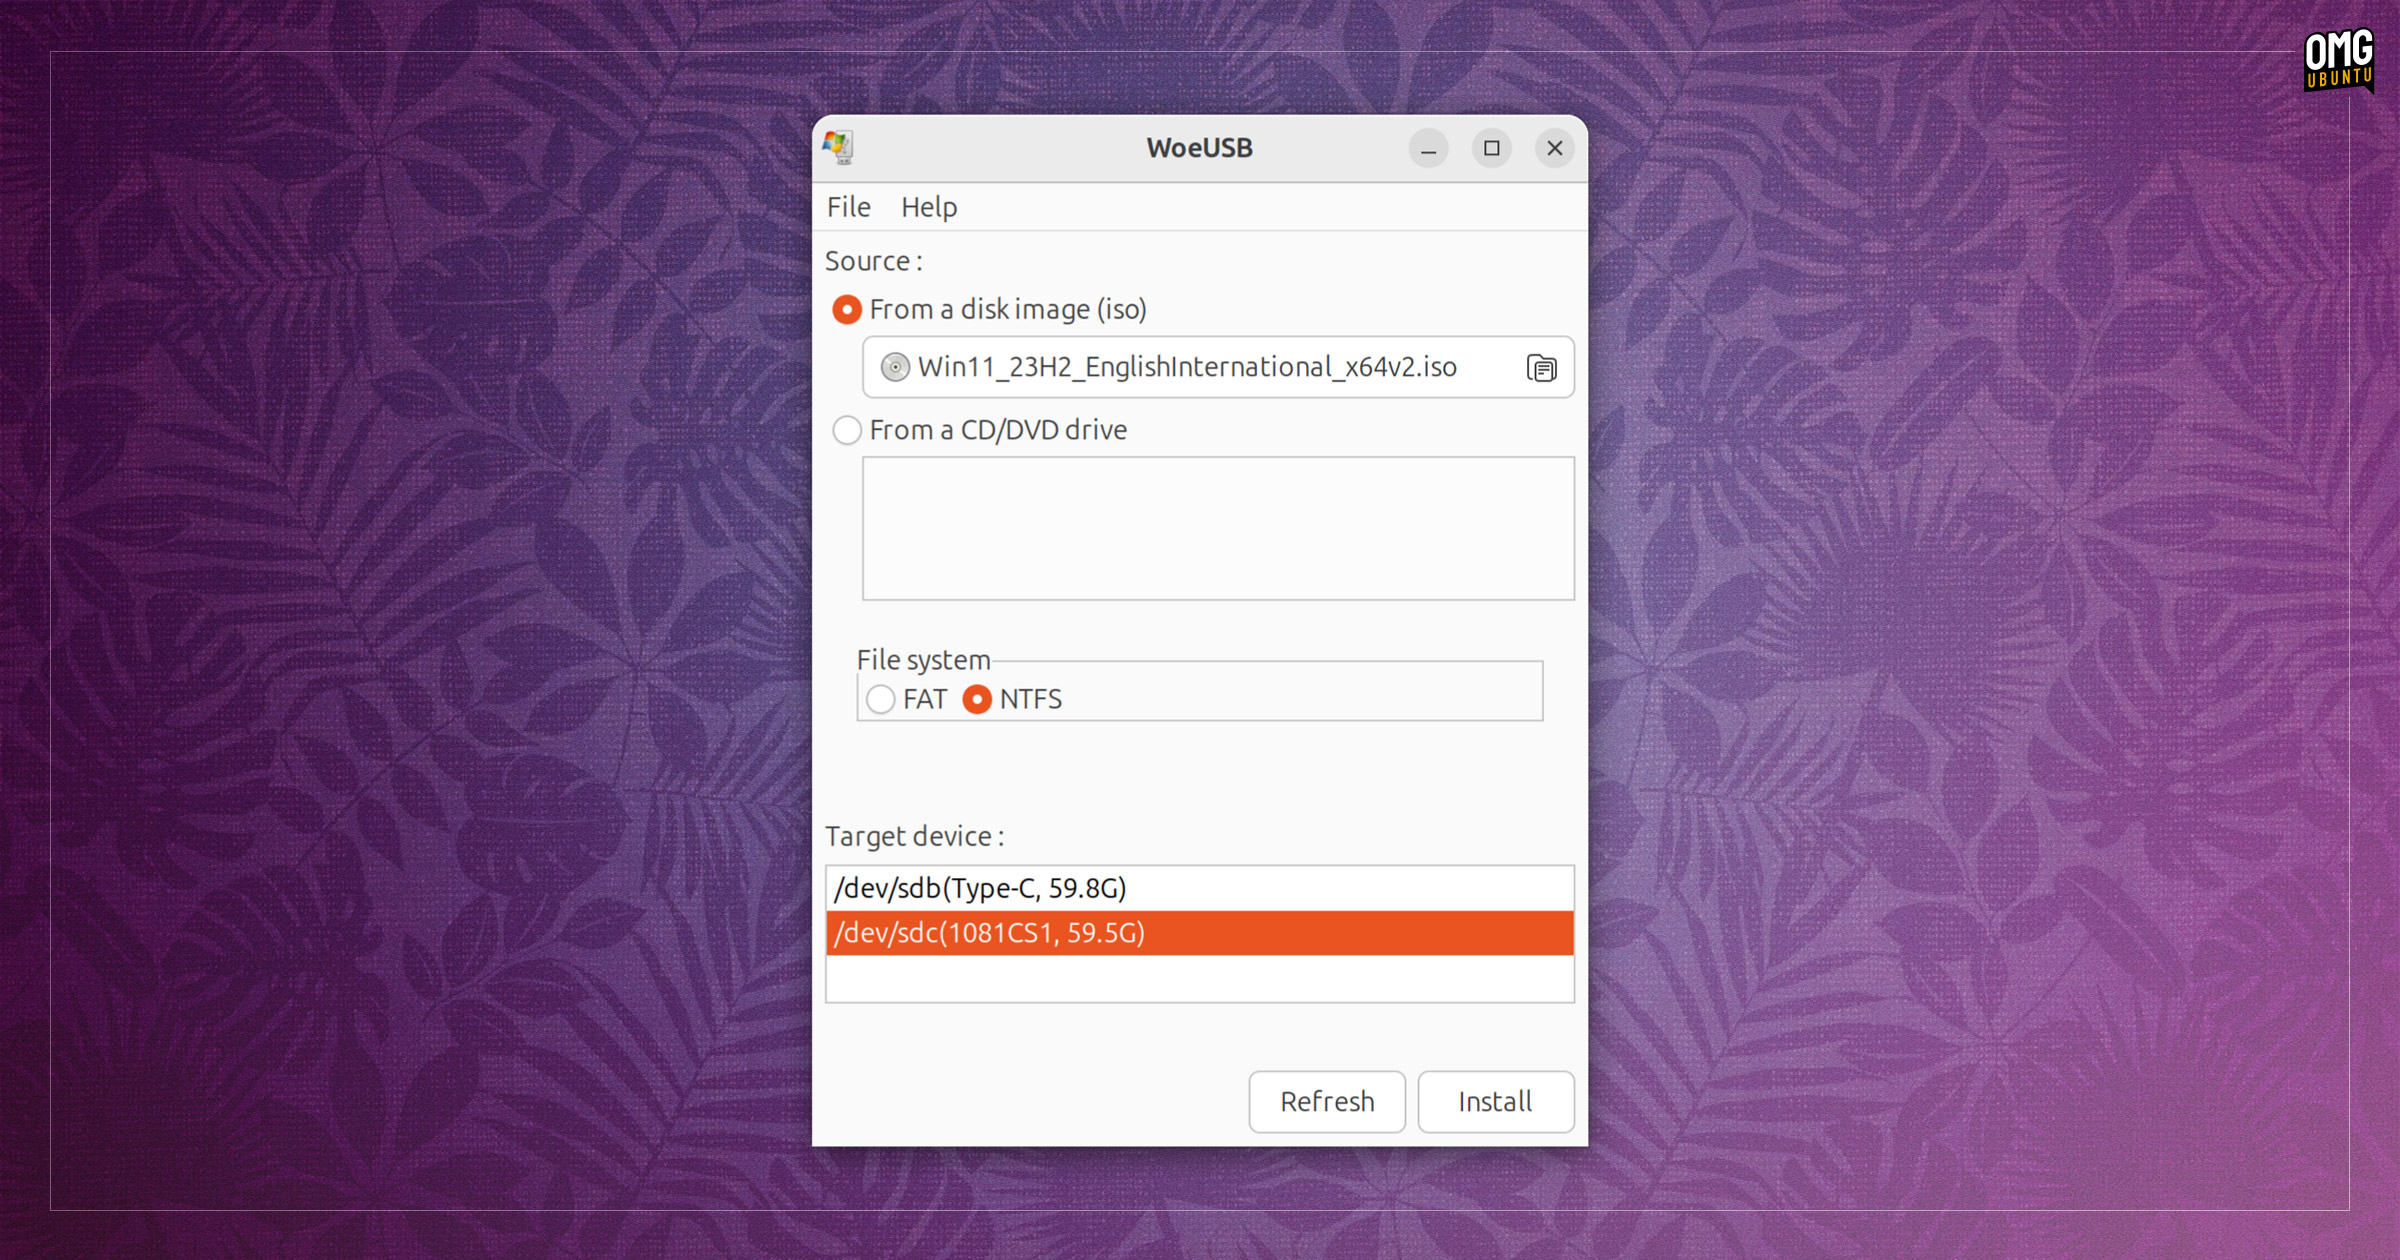
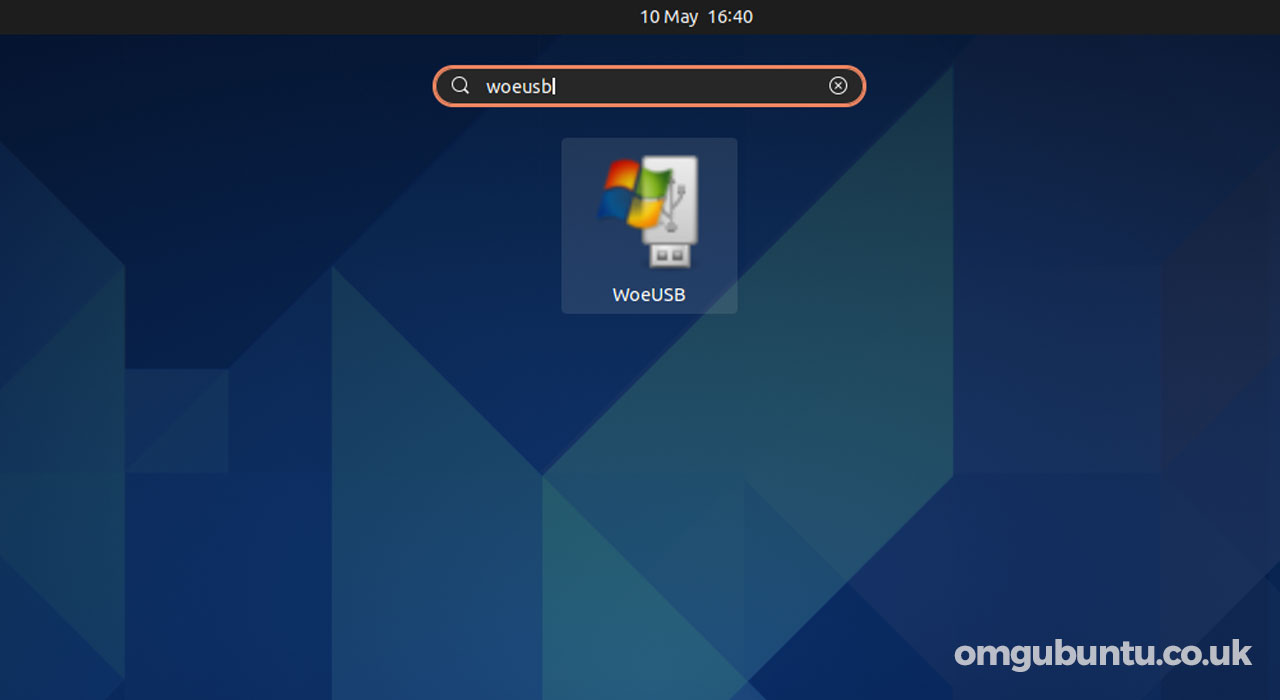
Once you have installed WoeUSB in Ubuntu, open it from the applications menu/grid (in Ubuntu with GNOME Shell press the super key and type ‘WoeUSB’ to find it).
Inside the app, first select your Windows ISO image using the file picker button in the ‘Sources’ section.
Then, choose NTFS in the file system format section if you want to write Windows 10 or 11 to a USB drive. If you are writing Windows 7 or 8.1 or earlier, you can select FAT.
Finally, in the “Target device” section, select the USB drive to flash to.
If you don’t see your USB device listed in the ‘Target device’ section, make sure it’s plugged in correctly, then click the ‘refresh’ button to update the list of attached devices.
3. Create your bootable Windows USB
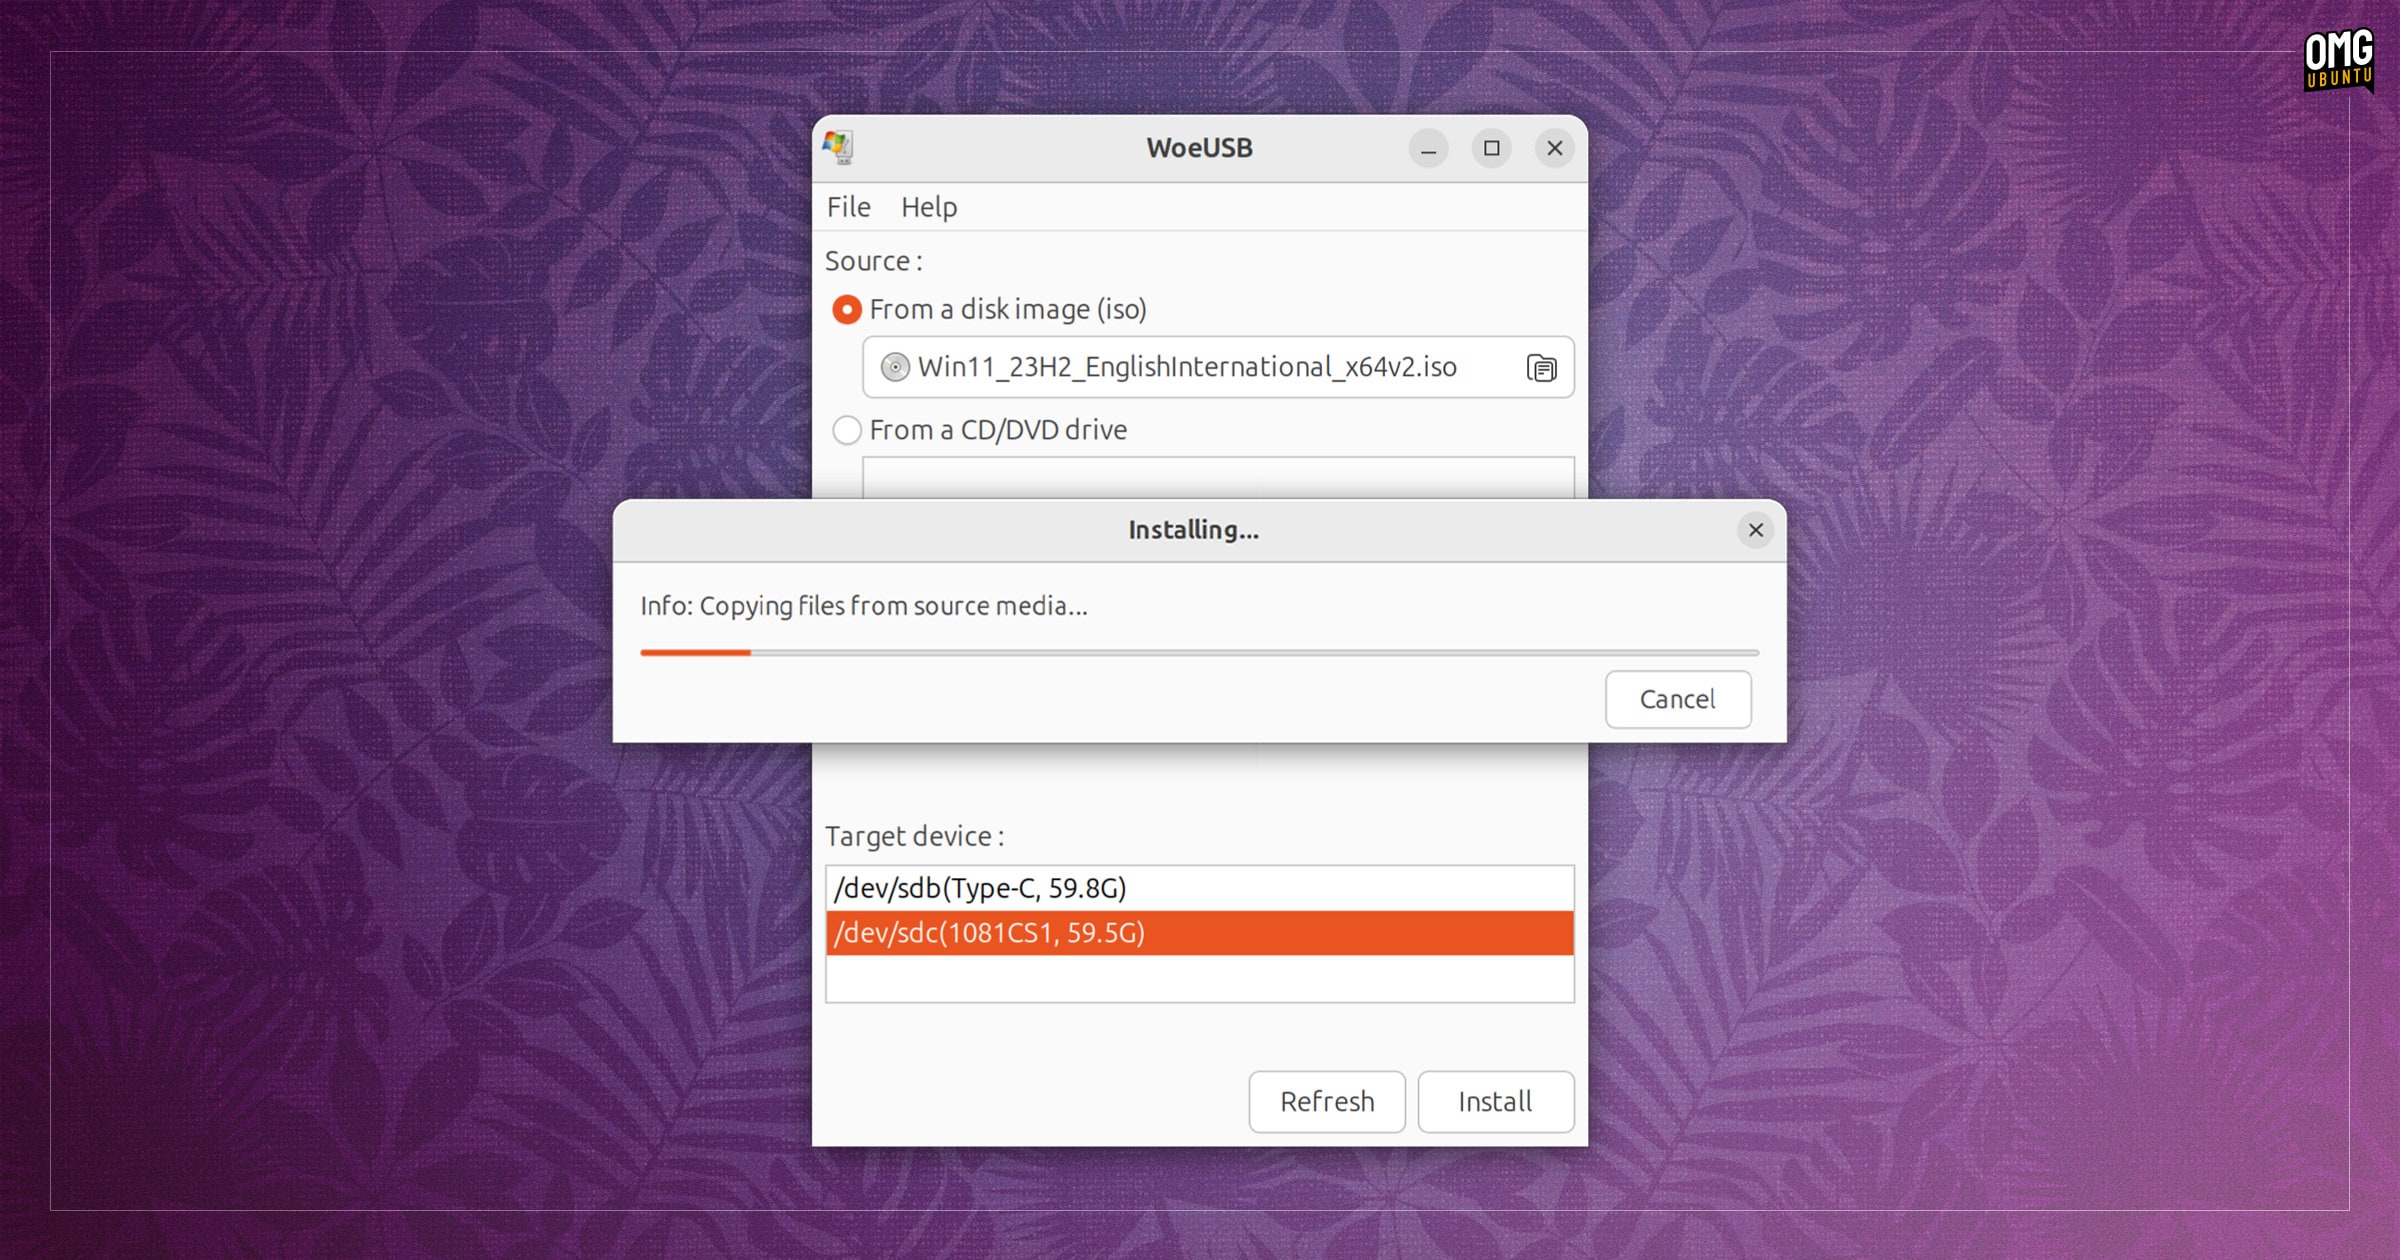
Before you click “Install” double-check you selected the correct drive. The install process wipes/erases the contents of the chosen drive so you will lose all data stored on it.
The tool does the rest on its own, without needing input. You should be patient. If your USB drive is old, connected to a USB 2.0 port or has poor sustained read/write speeds the flashing process will take a while.
After the write is complete, a notification appears.
Close WoeUSB, safely eject the USB (don’t just pull it out), plug it in to a laptop/PC and boot from it.
You can now install your chosen version of Windows – you will be coming back to Ubuntu after, right?