
Now that the Ubuntu 17.10 release is officially out many of you will be faced with the decision of whether to upgrade, or not.
In this post we’ll show how to upgrade to Ubuntu 17.10 from Ubuntu 17.04, plus provide a few pointers to those of you who want to upgrade from 16.04 LTS.
As we mention in our full Ubuntu 17.10 run-down, the latest short-term release is packed full of big changes and major additions. There’s a new desktop, a new display server, a new display manager, a new kernel, a new …Well, I’m sure you get the idea!
In all it’s a pretty compelling upgrade, especially if you’re currently running Ubuntu 17.04.
Prerequisites
Before attempting any Ubuntu upgrade there a couple of things you should always do.
First, make a backup of any/all important files and folders. While these shouldn’t get lost during the transition, there’s always an outside risk they might.
Secondly, make sure you have installed all updates to your current release before you begin. This will make your upgrade as smooth and as fast as possible.
To check for and install updates on Ubuntu you can launch the Software Updater tool, or run this command in a new Terminal window:
sudo apt update && sudo apt dist-upgrade
When you’re done that you’re all set; you can go ahead and upgrade to Ubuntu 17.10.
How to Upgrade Ubuntu 17.04 to 17.10
You can upgrade to Ubuntu 17.10 in one of two ways:
- Using the Software updater
- Using the command line
Which route you take is entirely up to you. Both have their fans and critics. However you choose to do it you get the same result: an Ubuntu 17.10 upgrade.
Software Updater

If you plan on using Software Updater to upgrade all you have to do is wait for Ubuntu to notify you that a new version of Ubuntu is available.
This notification does not appear right away, so you will need to be a little patient. Also bear in mind that, on release day, the Ubuntu servers are extremely busy. If you do get the upgrade prompt do keep in mind that the upgrade may take longer than expected.
Command line
Don’t see the prompt above but want to upgrade right now? You can.
To manually upgrade to Ubuntu 17.10 using the command line all you have to do is run the following command in a new terminal window:
sudo update-manager
This should open the update manager and alert you that a new release is available.
If that doesn’t do the trick you can use this command:
sudo do-release-upgrade
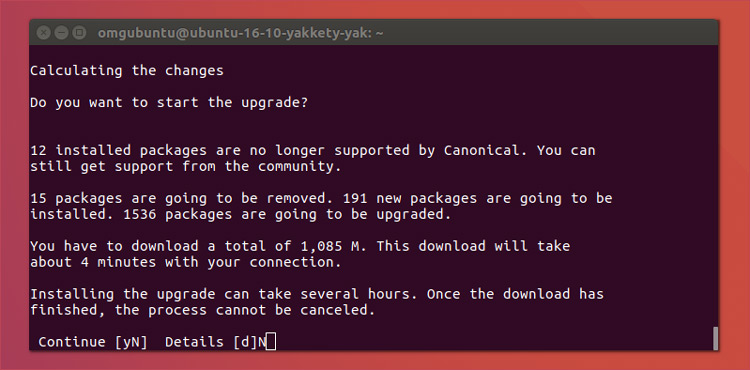
Pay close attention to all the information that appears in the terminal at this point. If you’re happy with what you see you can go ahead and okay the upgrade by pressing the Y key followed by enter/return.
Let everything download, unpack and install. Then reboot you computer if prompted. If all has gone well your system will pop back up, with few, if any, major issues — but more than a couple of differences.
Unity vs GNOME, Wayland vs Xorg
Ubuntu 17.10 uses the GNOME Shell desktop by default, and the Wayland display server by default (where supported).
As you’re upgrading from Ubuntu 17.04 you currently have Unity installed. Unity will stay installed after the upgrade (though you may wish to remove it) but you may need to manually select the Unity session from the new login screen. To do this just click the ‘cog’ icon and select’ Unity’.
Unity only runs on Xorg.
Upgrade Ubuntu 16.04 LTS to Ubuntu 17.10
You can upgrade Ubuntu 16.04 LTS to 17.10 but the process will take longer.
Why? Because first need to upgrade to Ubuntu 17.04.
To opt in to short-term releases:
- Open ‘Software & Updates’ using the Unity Dash
- Select the ‘Updates‘ tab
- Find the section titled ‘Notify me of a new Ubuntu version‘
- Change this from ‘For long-term support versions’ to ‘For any new version‘
- Click ‘Close’
You’ll instantly be prompted to run a quick update. This should then prompt you to upgrade to Ubuntu 17.04.
Once that upgrade is complete you will need to follow the process outlined above to upgrade from 17.04 to 17.10.