We don’t see as much of GRUB, the boot loader that is installed with Ubuntu, as we used to.
Once upon a time it was shown on every boot. These days you only tend to see it when something has gone wrong with your install!
GRUB remains a vital part of the Linux ecosystem, whether you intend to make use of it or not. So, for this entry in our Ubuntu Basics series, we’re going to look at how to navigate around GRUB and what options are available.
1. Shift
Ubuntu does not display the GRUB menu by default. To see GRUB during boot you need to press the right-hand SHIFT key during boot.
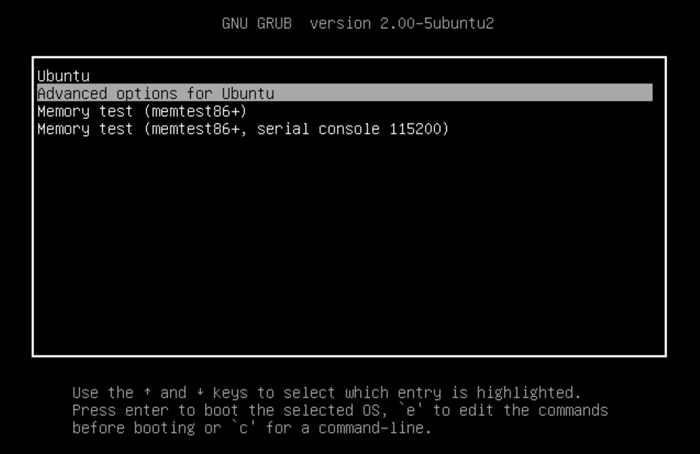
2. Up/Down Keys
When you are at the GRUB menu you can use the Up and Down arrow keys to select other operating systems and kernel configurations display in the menu. When you’ve selected the one you wish to highlight press Enter to boot it.
3. ‘e’ for Edit
There may be times you need to edit a boot command,
Use the arrow keys to select a boot option and hit the ‘e’ key to that entry’s boot options by hand.
You may need to do this to run a specific boot parameter, pass a kernel flag, adjust the run time level or set the frame buffer mode.
When you’re ready to boot with your modified changes press Ctrl+X.
4. ‘c’ for Command Line Mode
Press the ‘c’ key at the GRUB Menu to switch into ‘CLI Mode’. From here you can do a wealth of things, including changing menu entry names, fixing a broken install, or booting into a custom kernel configuration.
5. ‘Esc’
Tap the ‘Esc’ key at any time to return to the main GRUB Menu screen. Should you press ESC at the editor or command line screens all configuration changes you made are discarded and you’re plonked back at the main menu interface.