
When writing about applications available to install from a PPA we often give terminal commands, or say ‘add the following PPA to your Software Sources’.
But how do you add a PPA to Ubuntu’s software sources?
This is how:
Add a PPA to Ubuntu via the Ubuntu Software App
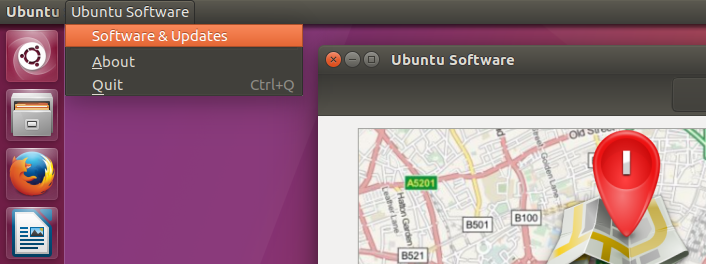
Open The Ubuntu Software application and mouse over the top panel to reveal the main app menu.
Click this menu and select ‘Software & Updates’.
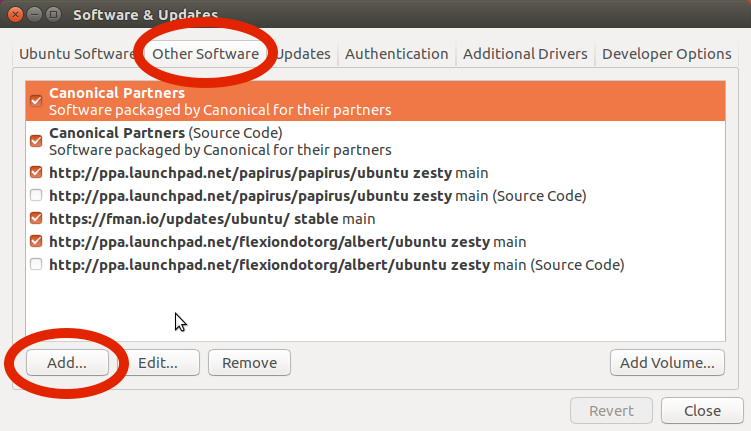
Another window, pictured below, will open. Along the top of the window are a row of tabs. Click on the second tab, named ‘Other Software’, followed by the ‘Add’ button located towards the bottom
Another small window will open. It’s here you paste/type the ‘PPA’ address given in an article (which we usually write in bold).


Make sure you enter it carefully. Then click ‘Add Source’.
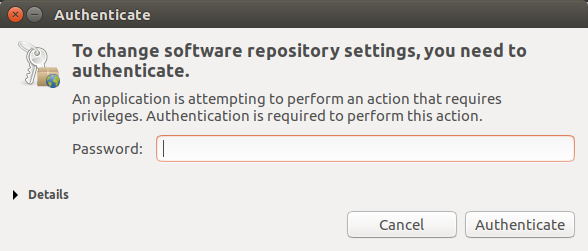
A small pop-up may appear asking you to enter your password to ensure changes being made have your approval. Enter your user password and hit ‘Authenticate’.
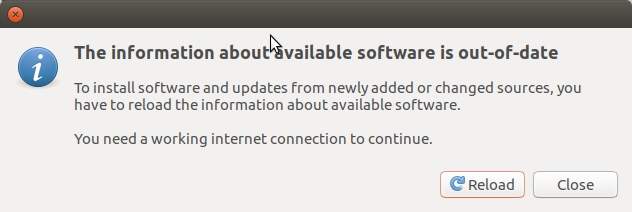
Next, close the Software & Updates window. At this point you’ll be prompted to update your software sources. This is needed so that the apps available in the PPA you’ve added can be listed in Ubuntu Software.
Once this refresh has completed you’re free to search for and install applications from the PPA just like any other application in the Ubuntu Software app.