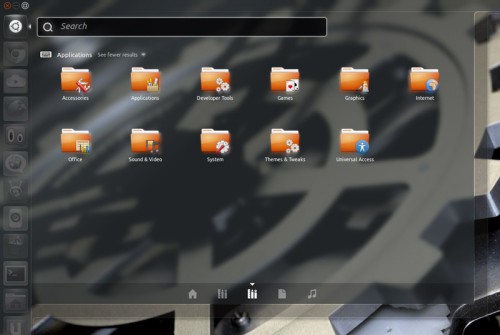
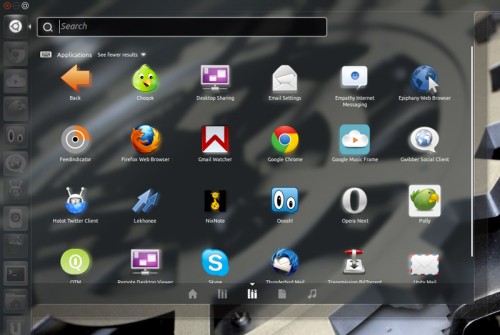
Unity’s Application Lens is pretty much perfect: you can search apps by text, or by category.
Simple stuff, right?
Well it’s not simple enough for those who prefer the more traditional approach to application-menu structure.
To that end the maintainer of the Unity Application Lens, Mikkel Kamstrup Erlandsen, has put together an GNOME Menu inspired alternative. A lens he’s called ‘Unity Bliss’.
The Bliss Lens takes things old-skool: organising applications into category folders reminicisnt of the old GNOME 2 menus.
Each application category is a folder. Inside each folder lay the respective application icons.
Mikkel says of the Lens: –
“This is a very simple implementation of an apps lens for Unity. It can be used as a replacement for the default apps lens if you want something simpler, or it can be used as a solid starting point for writing your own lens.
Bliss is by no means official or anything. It is a quick hack to showcase how you can go about this, mostly intended for developers who want to do their own thing. That is also why you wont find a PPA for it (not from me at least)”
Download and install
Don’t fear the lack of PPA; the lens is incredibly easy to install.
First download the latest lens package from the project launchpad page @ launchpad.net/unity-lens-bliss (the green button to the right)
Move this package to your Home folder. Right-click on it and choose ‘Extract here’.
Next open a terminal and enter the following commands: –
- cd unity-lens-bliss-0.1.3
- ./configure –prefix=/usr –sysconfdir=/etc
- make
- sudo make install
The lens is now installed, but you will need to log out and back in for it to become active in the Dash.
If you decide you don’t like it, or don’t want it cluttering up your Lens bar, it can easily be removed by opening deleting the ‘unity-lens-bliss’ folder in /usr/share, and the ‘bliss’ folder in /usr/share/unity/lenses.


